
Finishing the Second-Story Floor
So we left the barn looking like this so we could replace the manila/hemp rope on the block and tackle set.

The rope developed a small fray that was getting larger and the guys thought it best to not push their luck and decided to go buy a new rope. So while Mark spent the day in Lewiston looking for manila/hemp rope, Kit and Uncle Peter spent the day putting in the rest of the second story floor.
I again had to be in town in the morning to deliver milk. It has been challenging this summer to keep delivering milk at 11 a.m. in town and then get back up the hill by lunch time, get it made and on the table, in a timely manner.
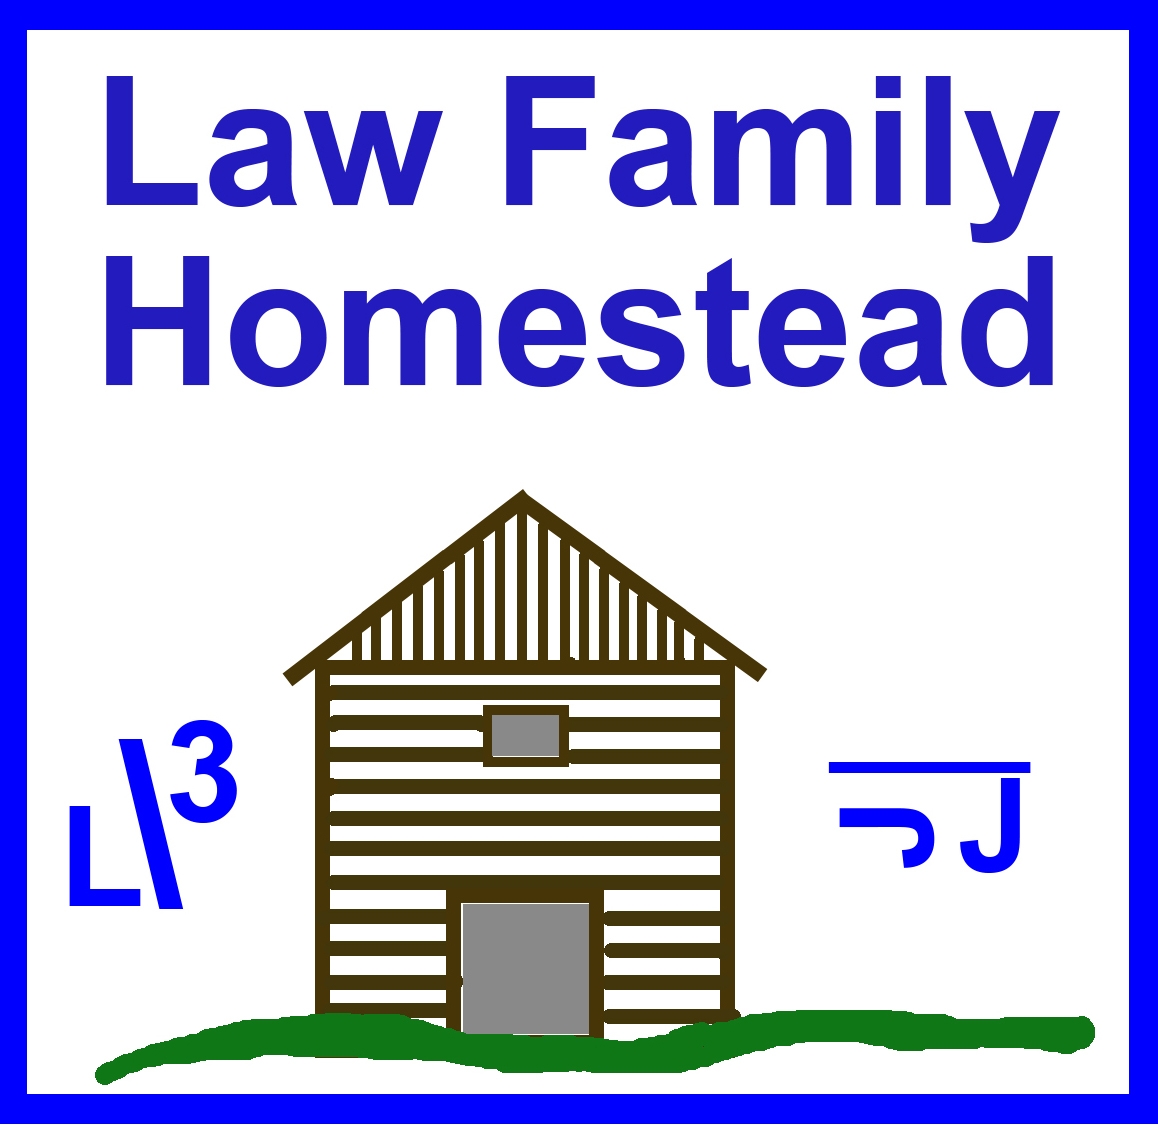
The first order of business was to lift the floor joists into place and fit them.

The block and tackle was considered safe enough, with extra precautions in place, to lift the floor joists since they were lighter and we weren't lifting them so far.

However, with the first lift the rope snapped sending the joist crashing to the concrete floor, where thankfully the safety precautions were heeded, everyone was out of the way and no one was hurt, other then a little rise in blood pressure! The thought of what the consequences could have been if we had put up one more rafter the day before with everyone on deck, made the blood pressure rise to dangerous levels. We thanked God that night for impressing Uncle Peter to not use that rope anymore.

Uncle Peter was able to braid the break together well enough so they could finish using it to lift the rest of the floor joists. These joists are the biggest and heaviest as they will bear most of the hay load. Lifting them up by hand was not an exciting thought to the guys.
By the time I got home, the excitement was over and they were almost finished with the joists.

They were just guiding the last ones into place and fitting them.

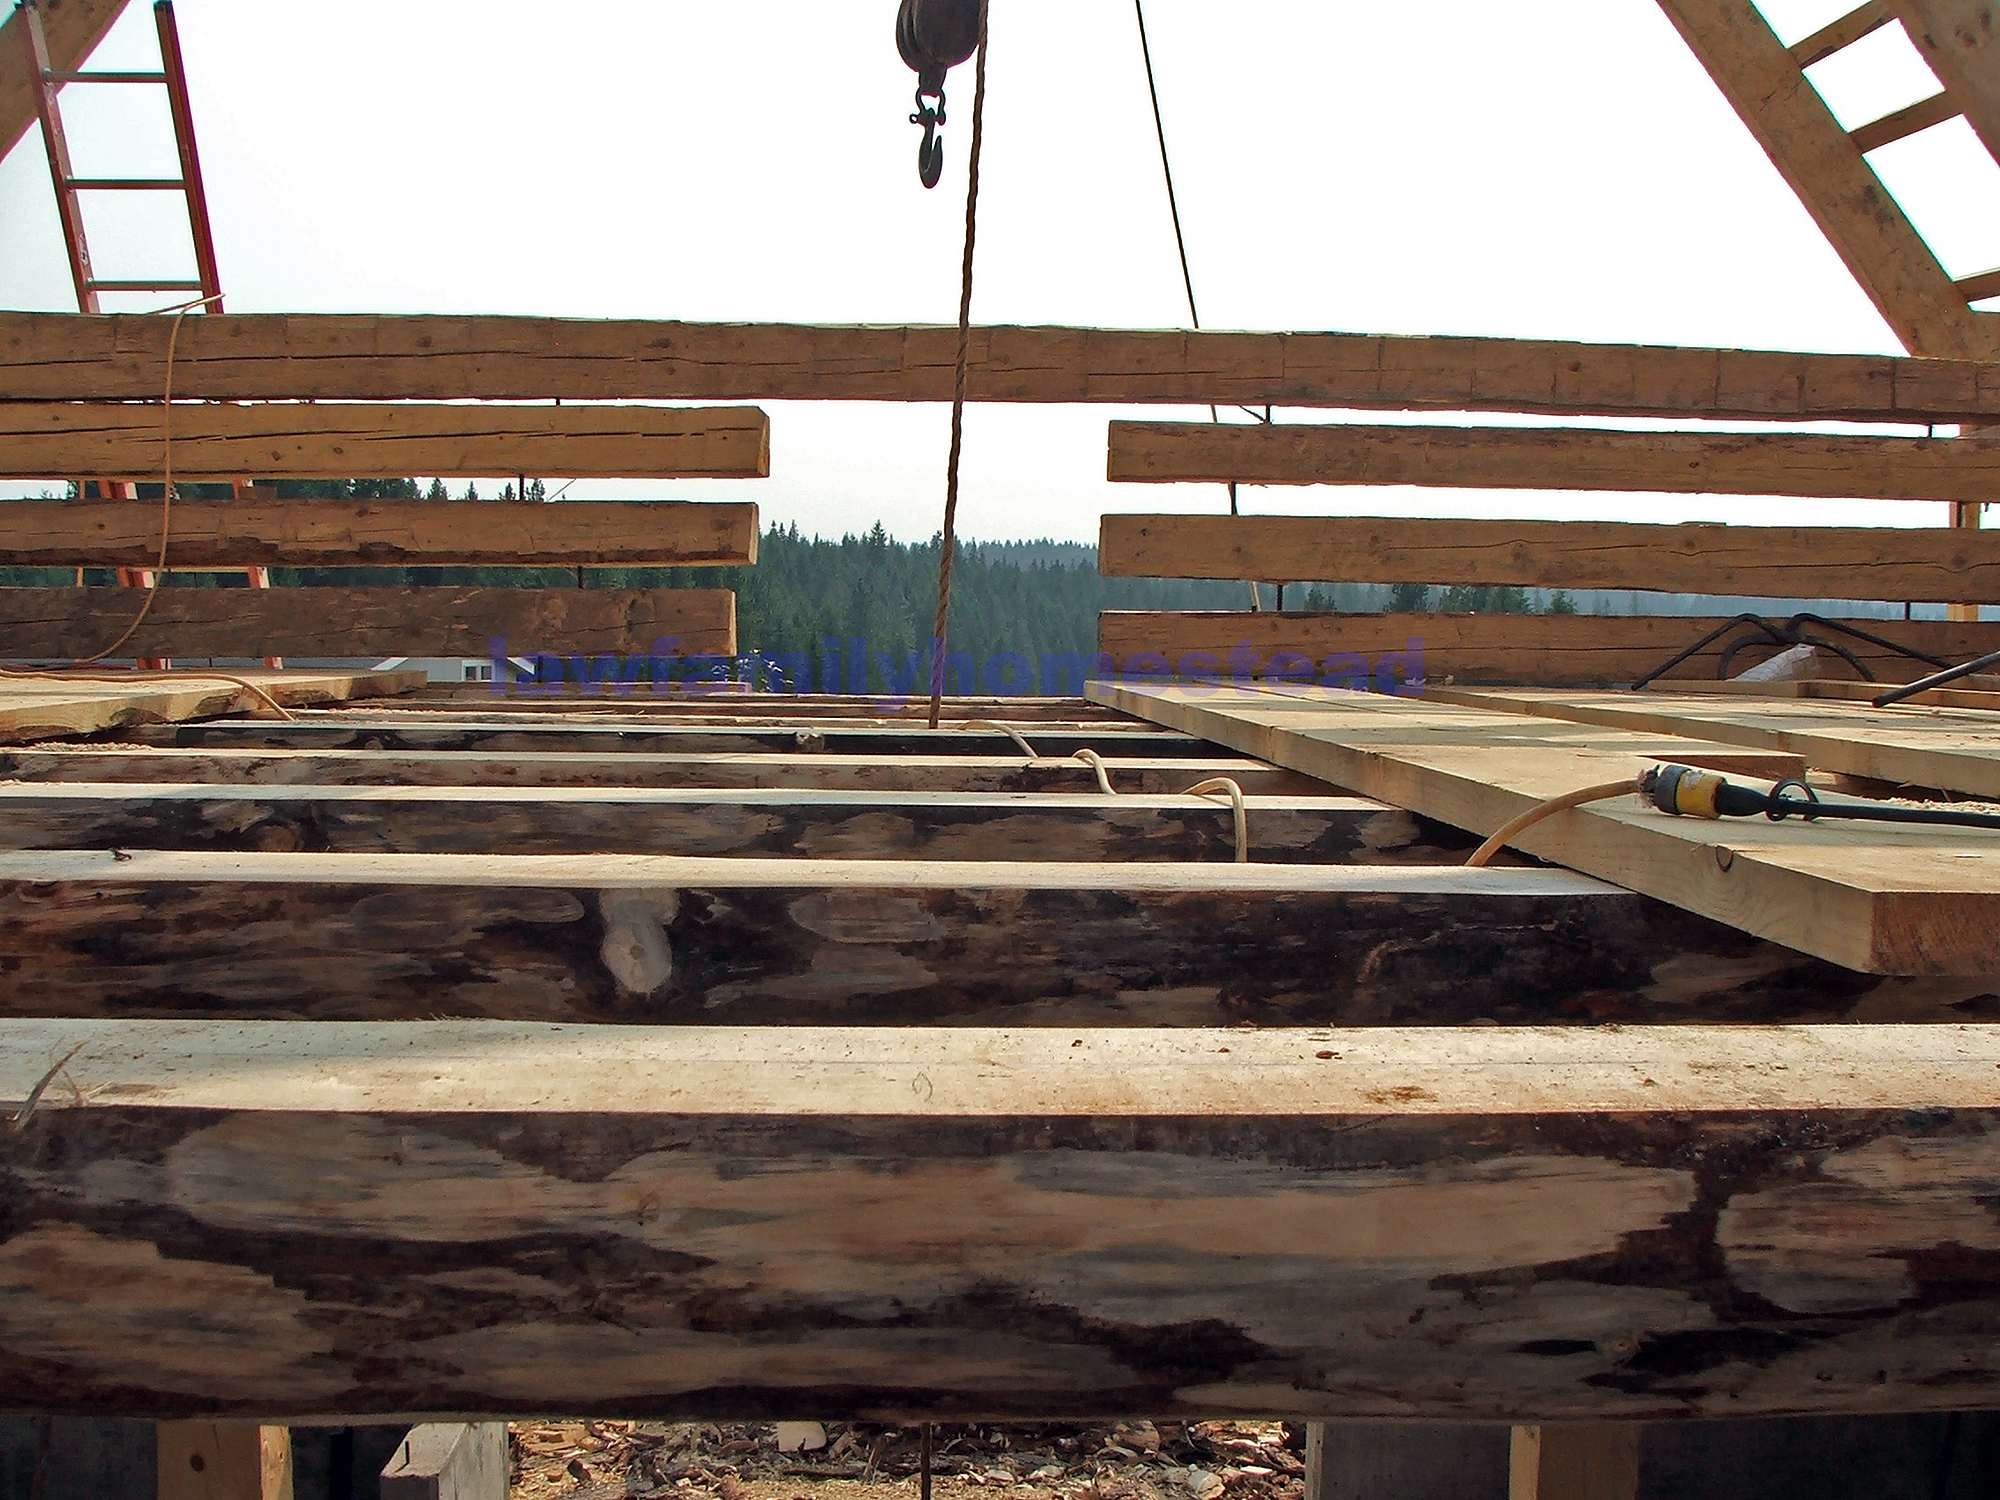
Looks AWESOME doesn't it?! I just love the peeled log look!

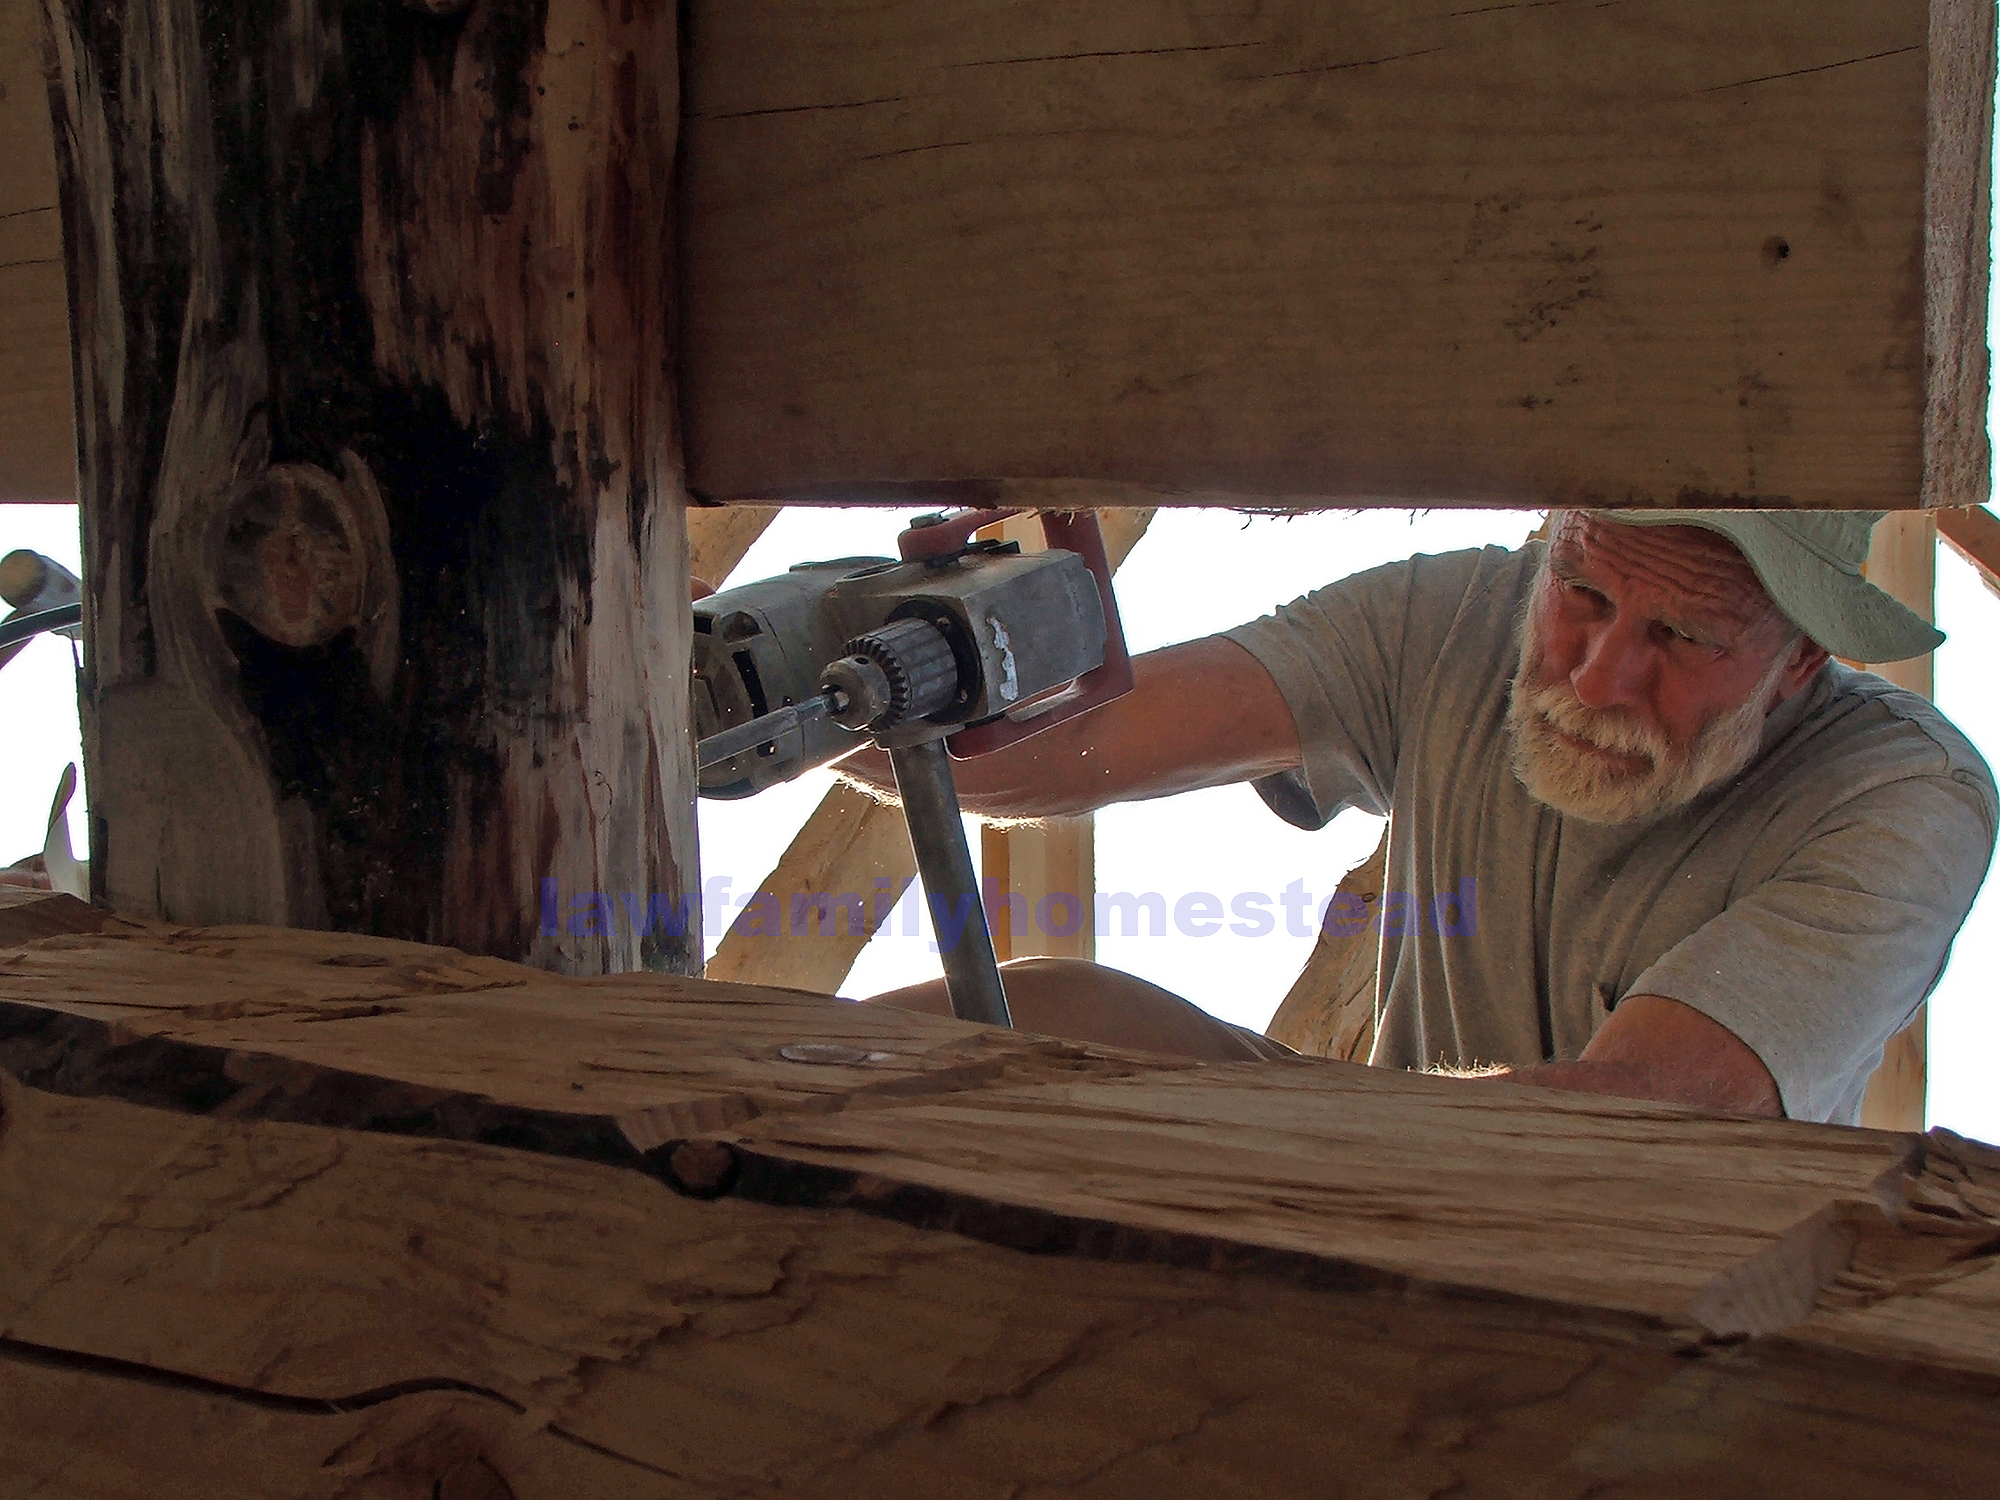
Some of the details that won't be seen as readily once the floor goes on. Just love the look of the ends finished this way.
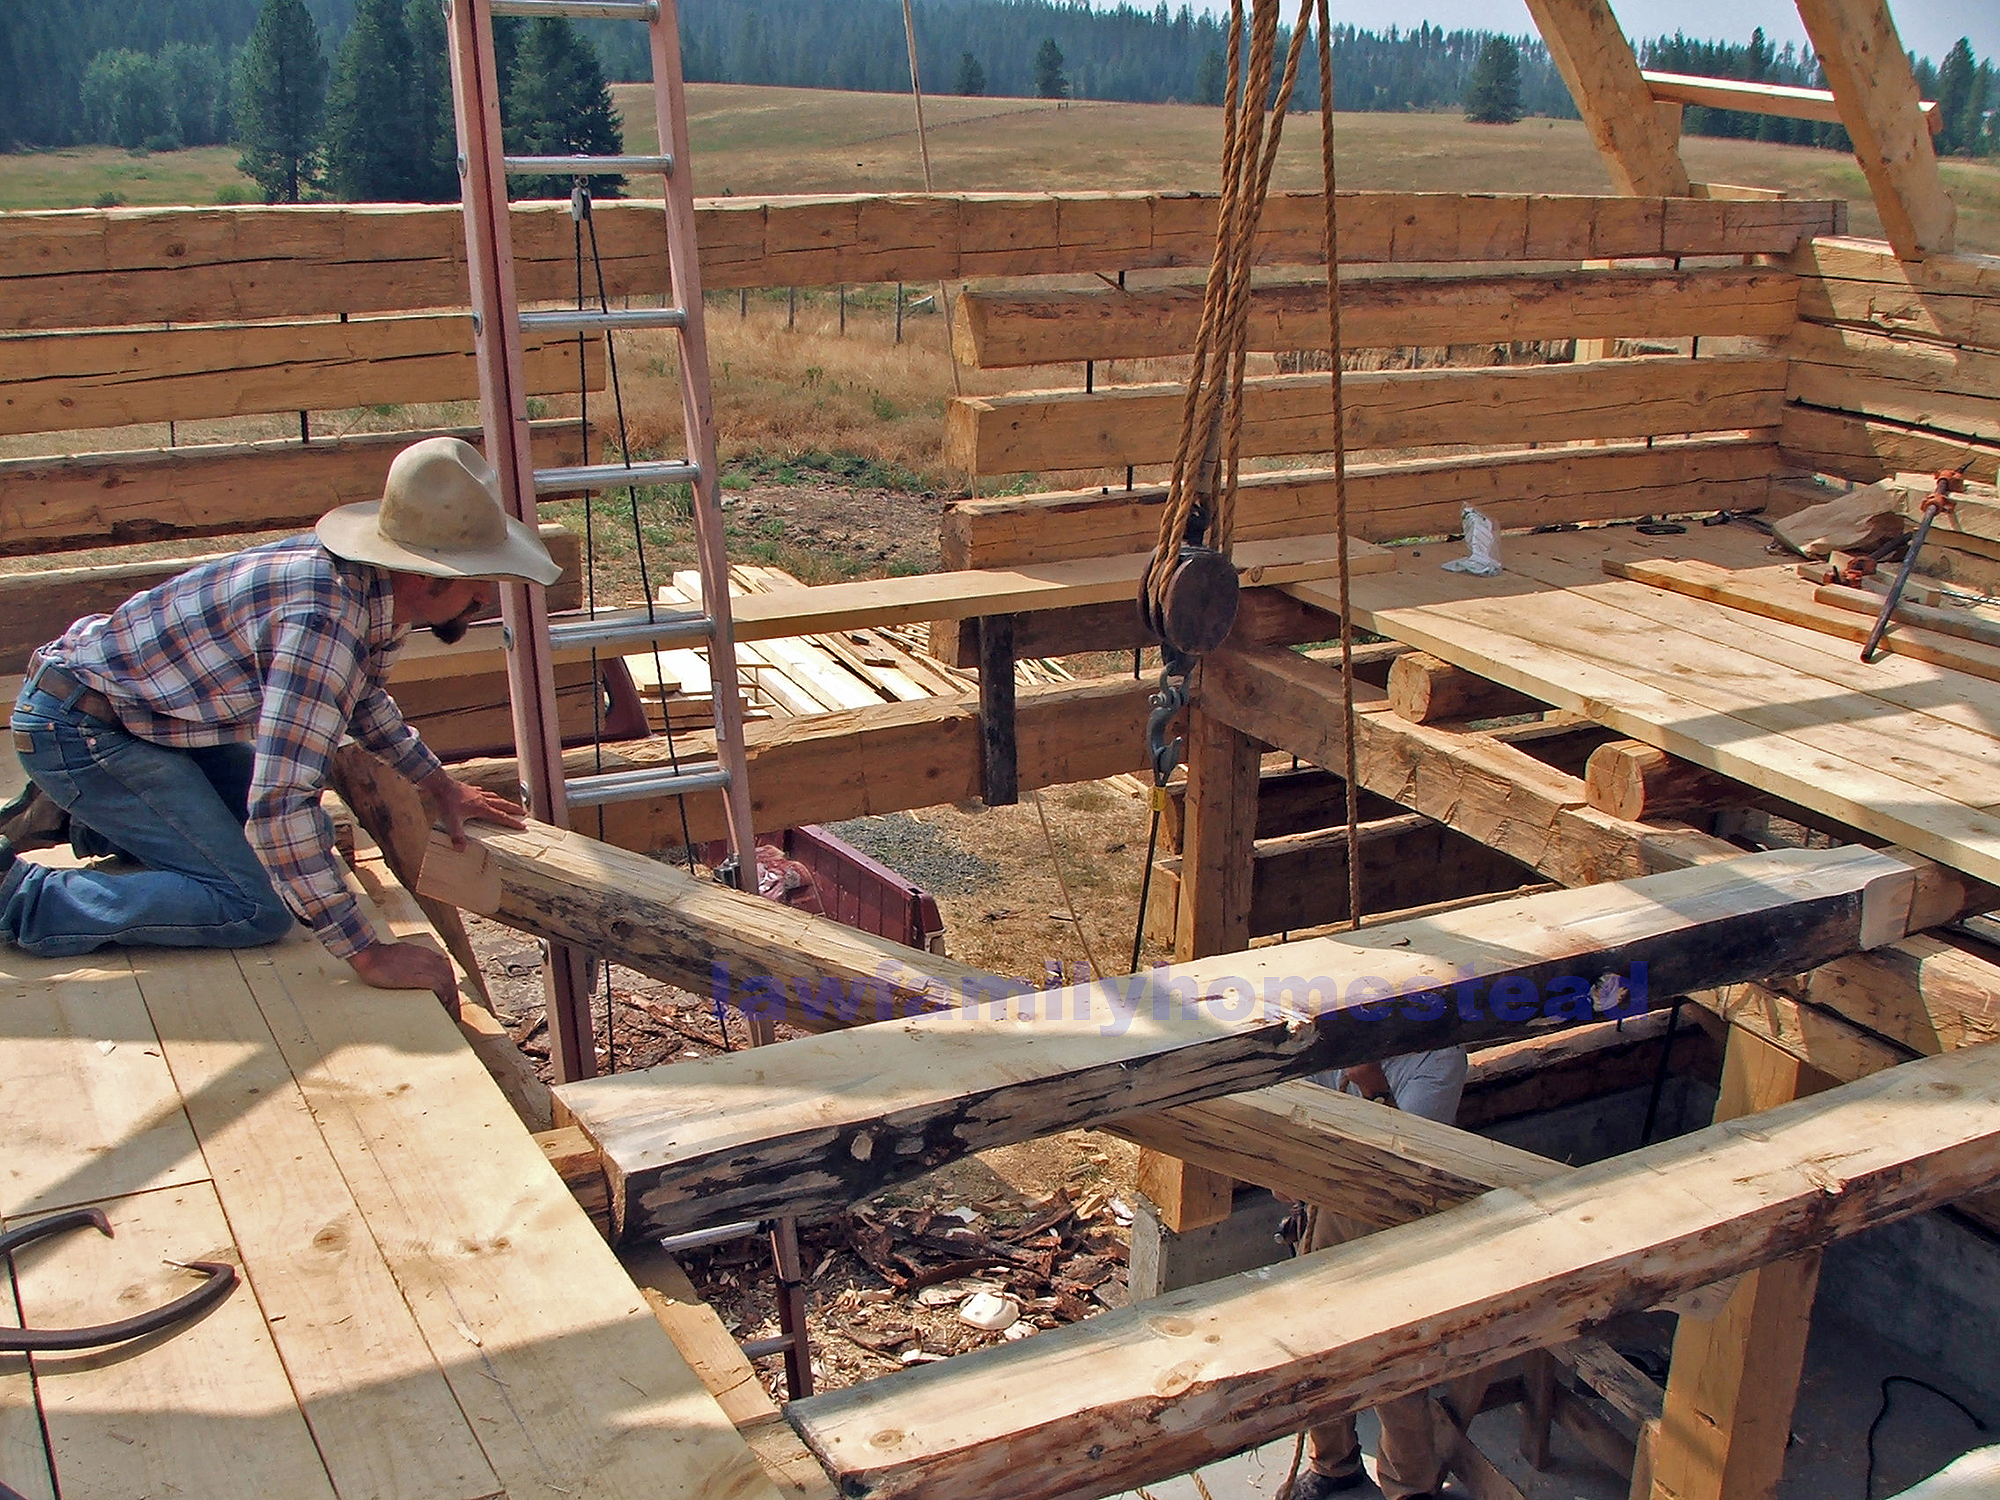
Here Uncle Peter is drilling holes in the ends to stake them to the beam.

Kit on the 6-pound hammer driving pre-cut rebar into the holes.

A top side view of the process.
Straight, flat and level. It will make an awesome floor!

Kit is using a drill to screw down the floor.

Uncle Peter on the skill saw, measuring and cutting to size.

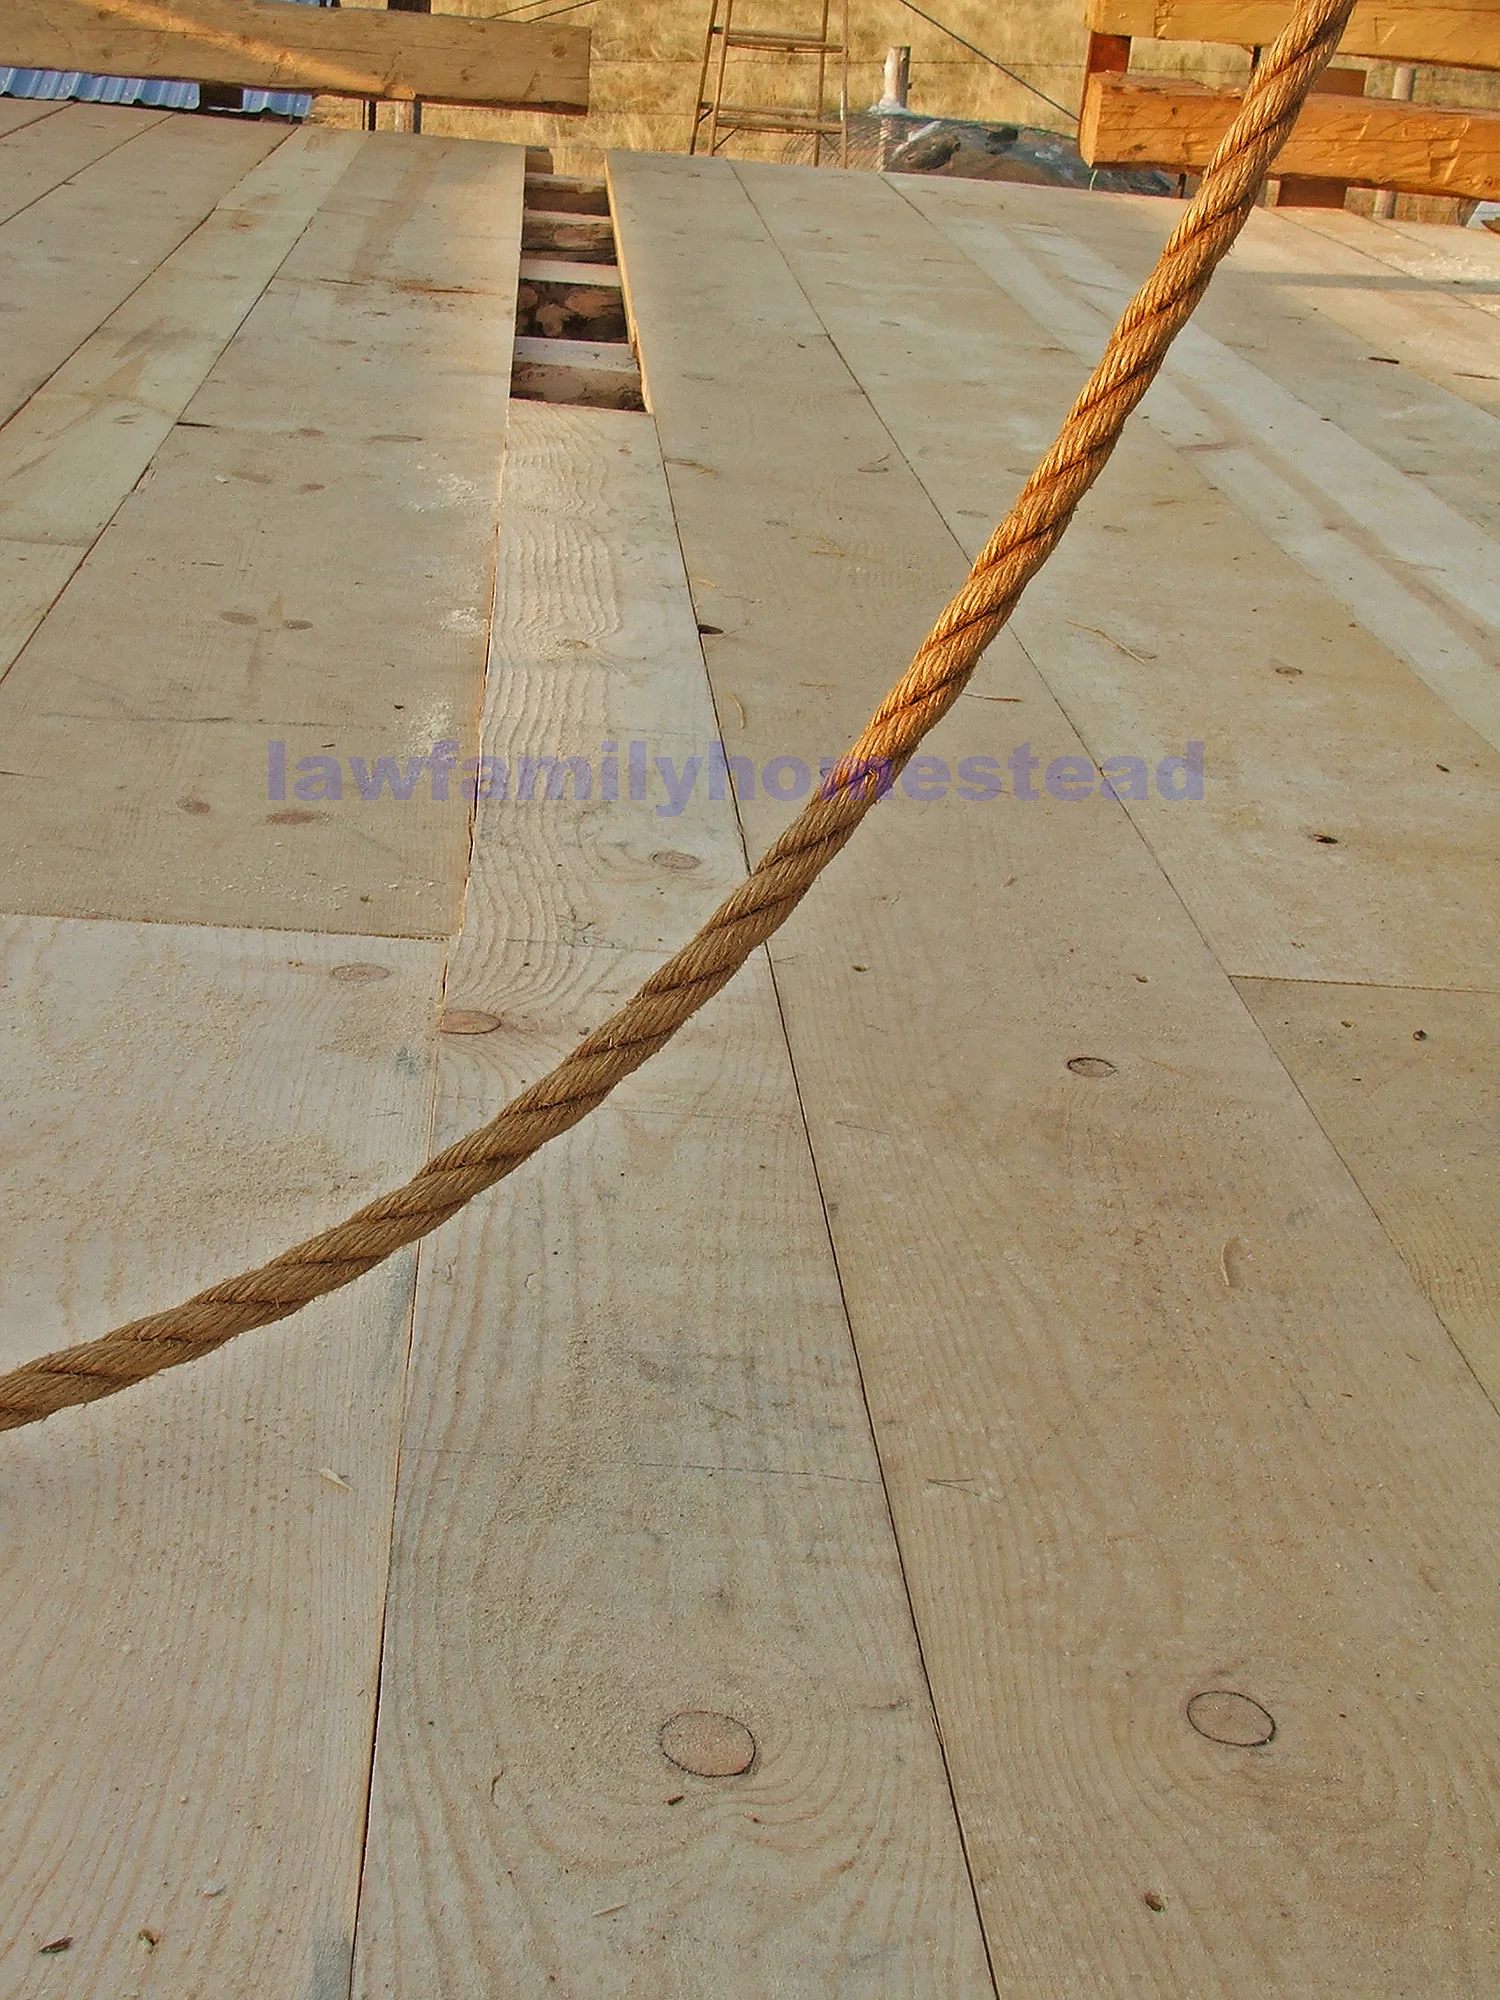
Kit took the initial measurements topside and then screwed the boards down after Uncle Peter cut them.

Closing in and starting to feel like a barn below.

This was a cool technique Uncle Peter used to fit the very last board on the floor. It’s called spiling.

Measurements are taken of the remaining space about every 6 inches or so and are transferred to the board to be cut.

Then it is cut with a handsaw because you can be a lot more accurate with it than with the skill saw.
And it fits, awesome!

Even the little notches and such came out perfect!
Next we will finish putting the rafters up, and adding the purlins.