
For those of you who have followed the building of our hand-hewn barn since last year, we have an exciting new chapter to add. If this is your first visit you may check our archive page and find our hand-hewn barn section and read from the beginning the incredible story of how this structure came to be.

A year ago this past fall we were rushing to get the roof up and tin on before it started raining again. We just made it. Due to weather changes and finances we let the barn sit through the winter and spring, waiting for it to stop raining so the logs could thoroughly dry out before we started the next phase.
We built stanchions last January, and I started milking in the barn. Sooooo nice this spring when the muddy season hit. Nothing better than a concrete floor in those conditions!
While it was hot and dry and we had our wood in and hay in for the winter we turned our attention to getting the barn a little more finished. We did some research and talked to other log home owners in the area and finally decided on a product that we are trying on the barn.

We want something long lasting that does not require annual maintenance. A paint-stain product recommended to us was Mesmers Timberflex.

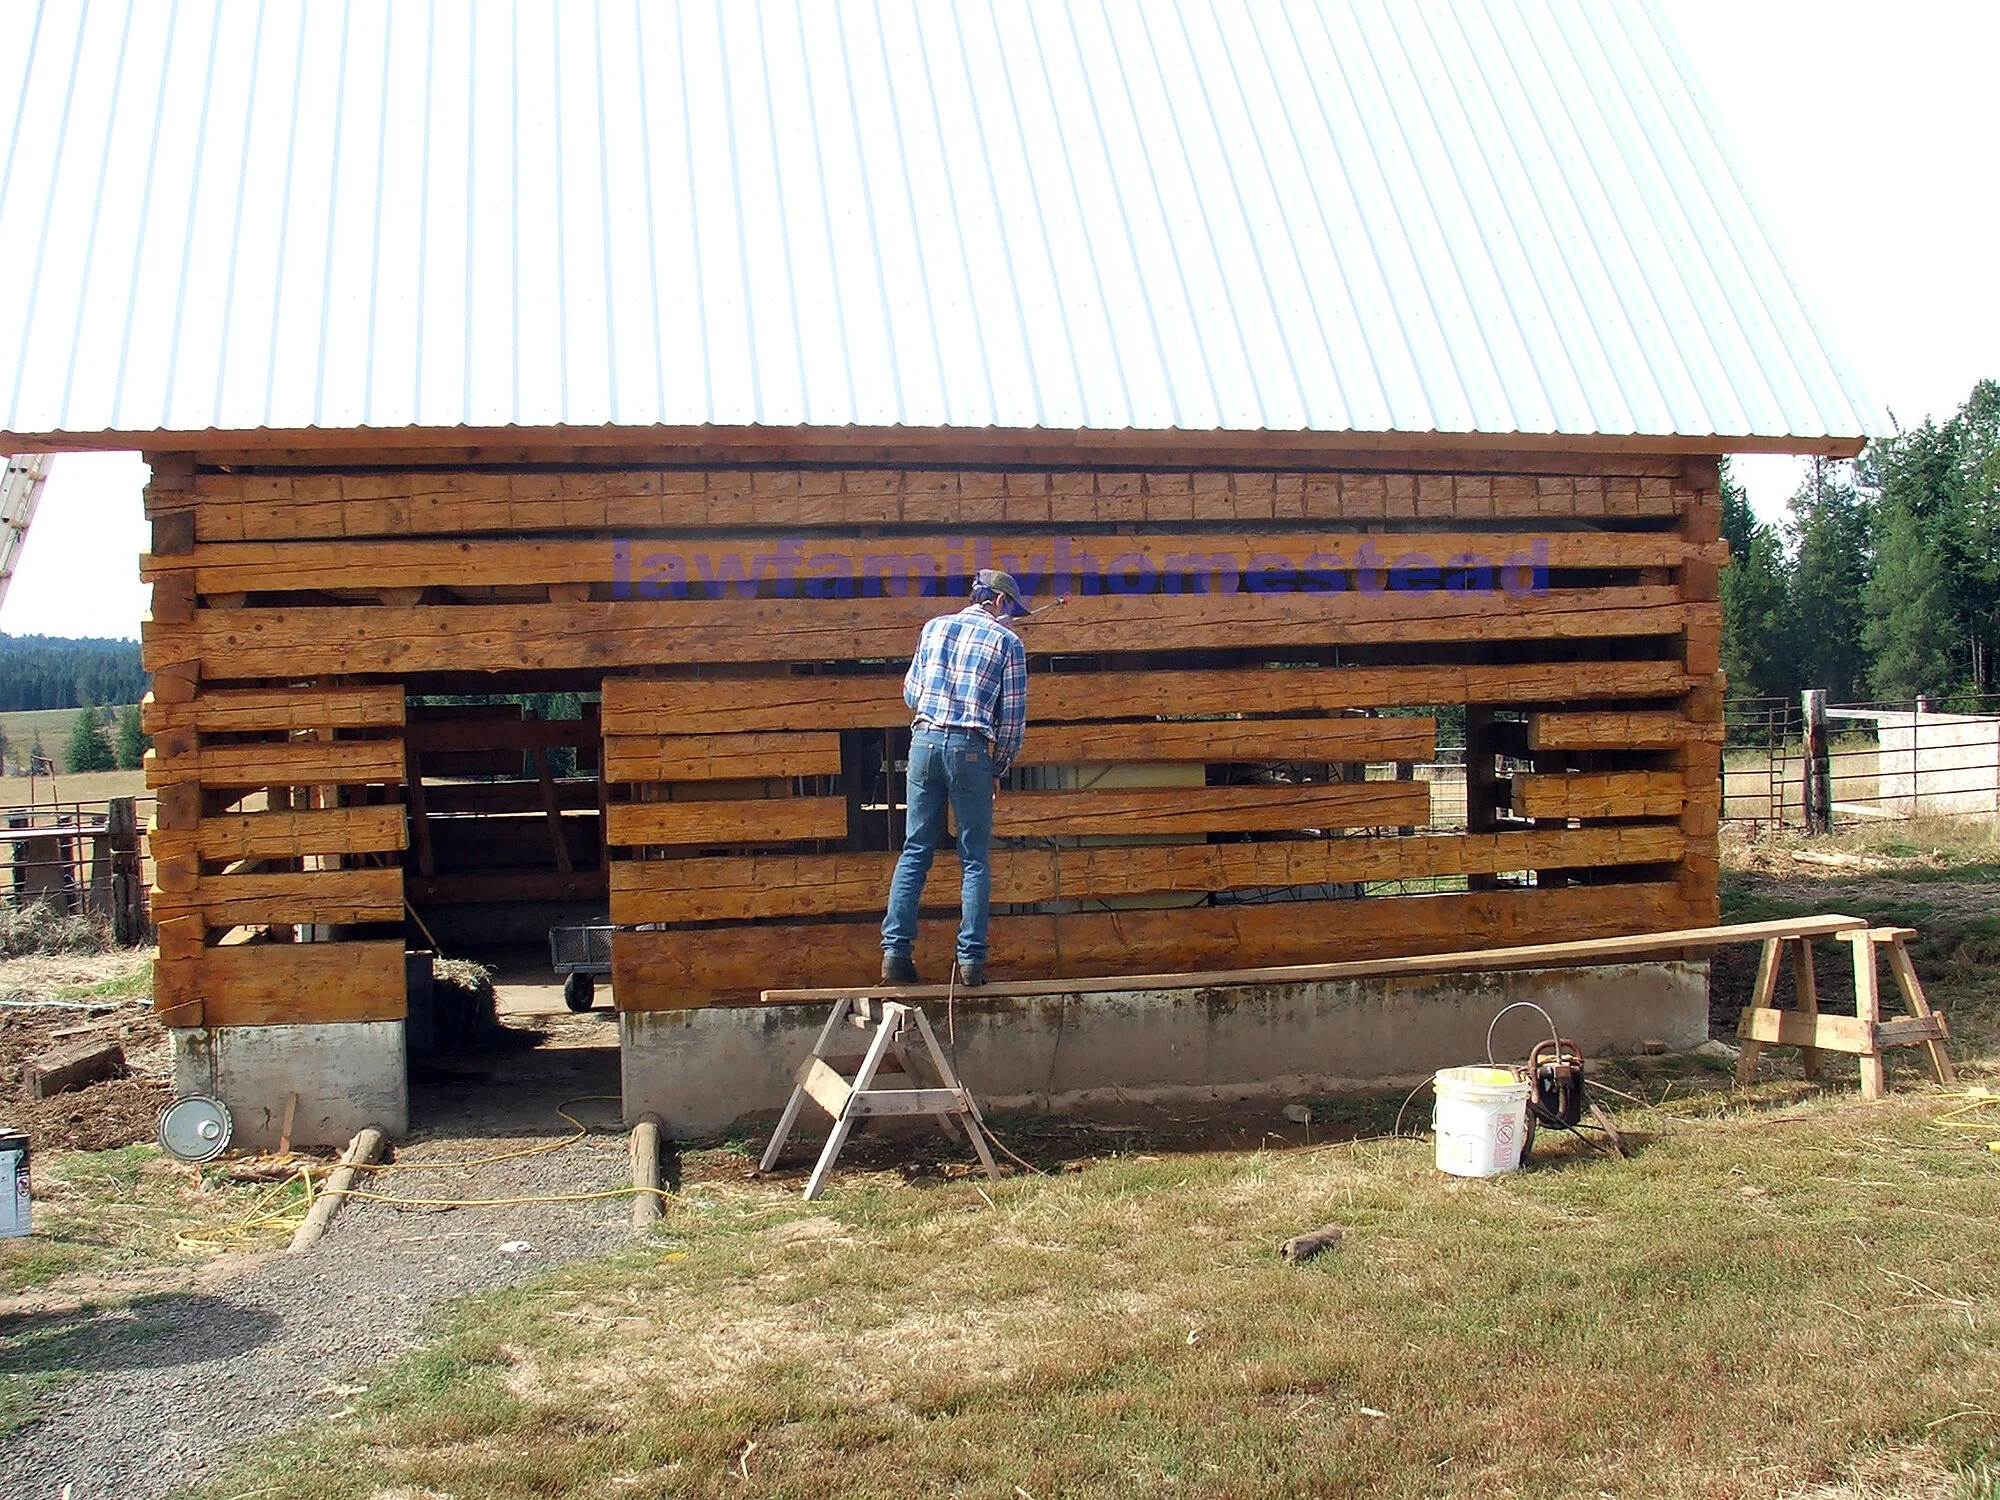
As we envisioned painting this stuff on by hand, an idea that wasn't very thrilling, a friend recommended using a paint sprayer. Uncle Jack mentioned he had one we could borrow as he was done using it on the job he was working on.
He graciously came over one day and showed Kit and Mark how to use the unit and promised we could have the first coat on in about two hours. TWO HOURS?!! Well, visions of hand painting for days vanished! And the quys decided they would try it after lunch.

So tools were assembled. First order of business was to remove as much dirt off the logs as possible. So CW and Mark used power drills with steel brushes to remove it.

A few places required scaffolding and a helping hand.

After Mark tried the sprayer out, (they did it so fast I didn't get a picture) Kit finished up the last couple sides. I was shocked how easy it was to do. I think the guys were also surprised.

As we were doing the calf pen area of the barn, Razzy, as she is being called got turned out to run so she wouldn't be fumigated. She had the time of her life running and bucking and exploring. I was trying to get some pictures but she was too fast, so I got one of her acting more like a lady is supposed to act.

Here you can see the contrasting colors between the painted log and the unpainted one on the bottom. The logs seemed to me to kind of fade or looked washed out over the winter and summer months. This stain brought back the vibrant color of the new wood look. Just love it! Over the course of the summer we put on a few more coats.

Here we are finally getting a first coat of stain on the gables. Had to borrow a 32-foot ladder from the neighbor to reach the peak.

Thankfully the hose on the sprayer was just long enough to reach the peak.

North gable, first coat done, just looking to touch it up.
While we were doing the gables we decided to put a third coat on the bottom logs as we were going around the barn.

Caramel anyone? This is why you stir paint or stain. There was like two inches of goo in the bottom, and as it was chilly that day, it took forever to stir it back in. Thankfully Mark was able to get it stirred back in; I was all for going and getting my immersion blender and beating it back in!

South gable, the black hinges on the newly stained red and gold cedar was really stunning in the setting sun.

The logs themselves are looking great also!

The stain is really bringing out the felling and broadaxe work.

The finished product. We are glad we chose the color we did. In my opinion, it is a perfect fit for the barn!